
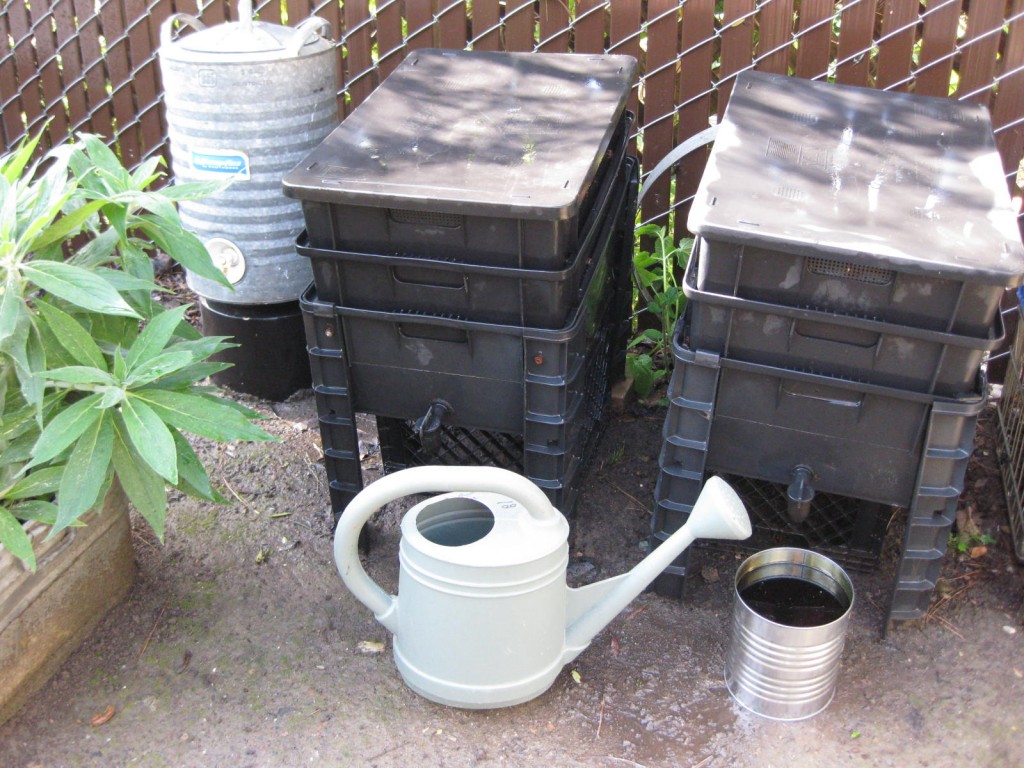
I finally got around to harvesting worm compost from my worm bins on this beautiful sunny day. I’ve begun spring planting and I need this magical compost to enrich my soil. Harvesting worm compost is a bit of a chore. One has to separate the worms from the worm “castings”, also called “poop”. But it is well worth the effort. The final product today, was about 15 gallons of the rich “black gold” for fertilizing plants in my garden and in pots, and about 10 gallons of the liquid that drained from the worm bins. Some folks call this worm “tea” and some call it worm “juice”. Whatever you call it, it is surely the most easy to apply, absorbable, “health drink” available for your valuable potted plants, indoors and out.

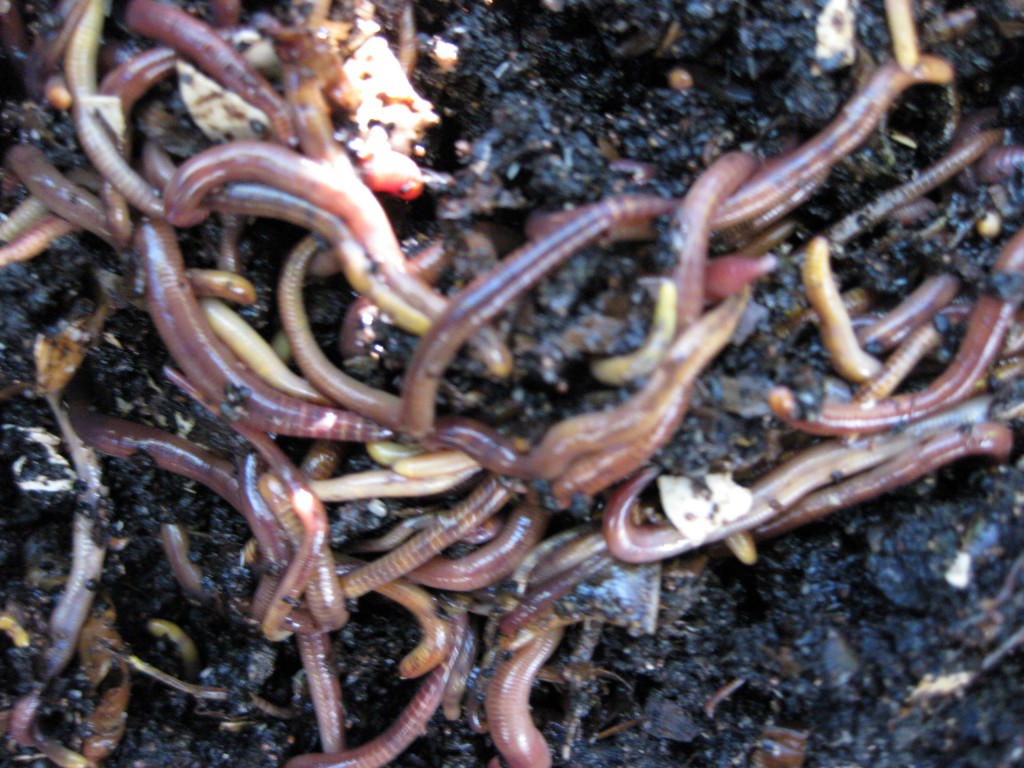
To harvest the castings (or compost) from the layered bins, I lift off the top bin and dump the contents of the bottom bin onto a plastic sheet laid on the ground. The concept of these worm bins is to stop feeding the worms in the bottom bin and put kitchen scraps in the top bin. These compost worms are called “Red Wigglers” and not to be confused with the common grey earthworms. They normally live under leaves on the surface of the soil so their instinct is to move upward. They should migrate through the mesh bottoms of the bins upward moving toward the surface as they do in the wild. Soon they will leave the bottom bin entirely and your compost will be ready for use, sans worms. I find that some worms cannot bring themselves to leave their cozy bottom bin so I have to manually remove them.

They don’t appreciate being dumped on the ground in the sunlight and “head for cover”. As they move downward, I scoop the top of the compost into a bucket. I try to remove any worms that are caught up in my hands, but, let’s face it, when I use the compost, some will be doomed unless they find a moist leafy shady corner of the garden where they can survive in the wild.
It takes me about an hour to scoop the top compost off the pile, wait while worms dive, and continue scooping. While worms are diving and I am scooping, I remake the bin into a new nest for the worms and so can begin the process all over again. For the new bin, I use moist newspapers, coffee filters, or shredded cardboard, a little handful of sand (for digestion) and some kitchen scraps that I have prepared for them to munch on.

When my pile of compost on the ground is reduced to a thin layer, I take the worms who have “hit bottom” and put them back into the bin. I will add kitchen scraps to the new bin for about a month, then leave it to be digested. This will take a couple of months depending on what the worms have been fed.
The lean, clay soil, of our garden is slowly being transformed into rich loamy earth. I give a lot of credit to those hard-working “red wigglers” for making my garden come alive.
This whole worm composting thing is very interesting. At times I really want to investigate it more and get some worms. But then I think I already have too many things I need to do. Maybe in the Spring?
You just may have the answer… that might well have been the Brahmas first egg this season.
I’m looking forward to your new chicken blog!
I have just found your article about harvesting the worm castings and it’s very informative. The pictures are a great help as I am about to harvest my first load of compost.